Are you eager to expand your gaming library without worrying about storage space on your Steam Deck? This comprehensive guide will help you do just that, unraveling the process of upgrading and replacing the Solid State Drive (SSD) of your beloved Steam Deck.
Steam Deck Storage Overview
Steam Deck comes in three variants, each having a different storage configuration. The first model uses eMMC storage, while the other two use NVMe SSDs, renowned for their speed and reliability.
- The 64GB eMMC model, while cost-effective, may not provide enough space for avid gamers.
- The 256GB NVMe Solid State Drive model, being mid-range, offers a good balance between storage and speed.
- The high-end 512GB NVMe SSD model promises ultra-fast storage and ample space.
Though the Solid State Drive models offer excellent speed, you might find yourself running out of space if your gaming library is large. But fear not; Valve has confirmed that the Steam Deck’s SSD is upgradeable. But remember, it’s not a procedure for the faint-hearted.
The Risks and Benefits
Before you consider upgrading or replacing your Steam Deck SSD, you need to be aware of the risks and benefits. It’s not an officially endorsed procedure by Valve, meaning you run the risk of voiding your warranty.
- Potential data loss is another risk, as the procedure involves hardware tinkering.
- Additionally, a failed attempt could potentially brick your device, rendering it unusable.
On the other hand, the benefits are enticing:
- More storage means you can store more games, applications, and data.
- Upgrading to a faster Solid State Drive can decrease game load times and improve overall system performance.
Backup your Data
Before starting the process, ensure all your important data is backed up. The upgrade process can potentially erase everything on your Steam Deck, so it’s vital to back up your games, save files, and other important data.
- You can back up your games by going to Steam > Backup and Restore Games.
- Save files can be protected by enabling Steam Cloud, ensuring they are stored safely in the cloud.
Acquire the Necessary Tools
To replace or upgrade your SSD, you’ll need the correct tools. These include a T5 Torx screwdriver and a safe open pry tool. You’ll also need a suitable NVMe M.2 Solid State Drive as the replacement drive.
- A few SSD recommendations include Samsung 980 Pro, WD Black SN850, and Crucial P5 Plus.
- Ensure you purchase a Solid State Drive that fits into your Steam Deck’s 2230 M.2 slot.
Accessing the Solid State Drive
Opening your Steam Deck involves removing screws and delicately prying open the casing. This procedure may seem daunting, but with patience and care, it can be accomplished without damaging the device.
- First, use the T5 Torx screwdriver to unscrew the four screws on the back of the Steam Deck.
- Next, use the pry tool to carefully lift the back cover away from the device.
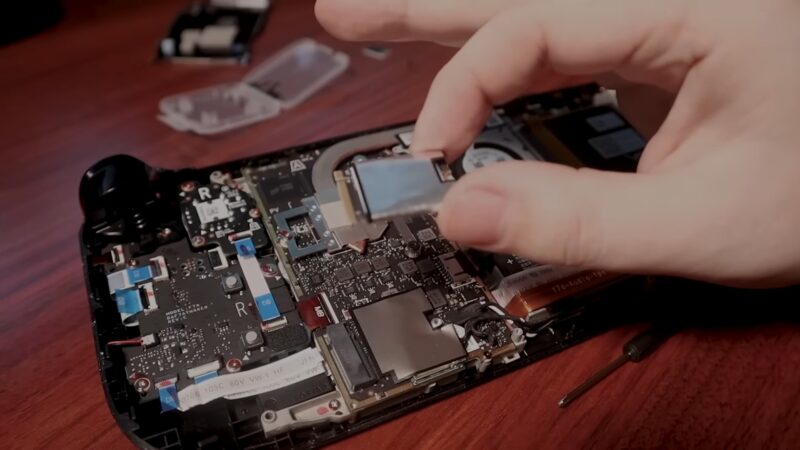
SSD Removal

Once the back cover is removed, you’ll find the NVMe SSD located near the fan. It’s held in place by a small screw that must be removed.
- Use the T5 Torx screwdriver to unscrew the single screw holding the SSD.
- Gently pull the SSD out of its slot.
Installing the New SSD
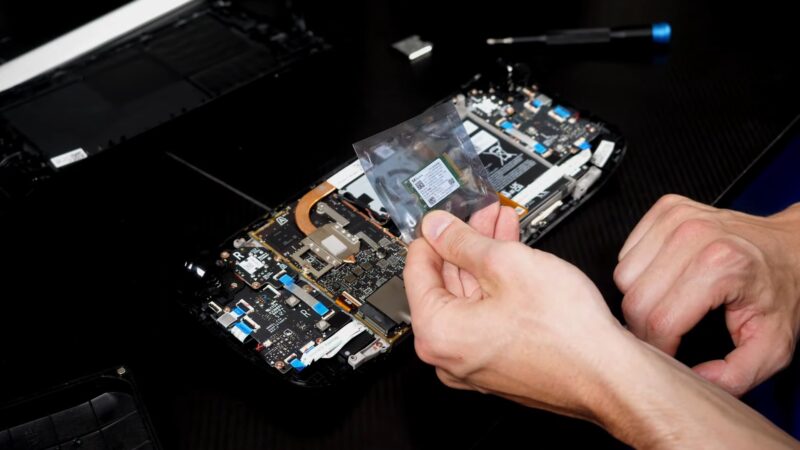
Installing the new Solid State Drive is a matter of aligning it with the M.2 slot and gently pushing it in.
- Hold the Solid State Drive at an angle of around 30 degrees and push it into the slot.
- Once it’s in, lower it down and screw it into place.
Reassembling the Steam Deck
Reassembly is simply the disassembly process in reverse. The back cover must be delicately pressed back into place and screwed down.
- Ensure the back cover is properly aligned before pressing it into place.
- Screw the four screws back in, being careful not to overtighten them.
Setting Up the New Solid State Drive
Upon turning your Steam Deck back on, the new SSD won’t immediately be usable. It will need to be initialized and formatted.
- Go to Settings > Storage > Format as Internal.
- This will initialize and format the Solid State Drive, making it ready for use.
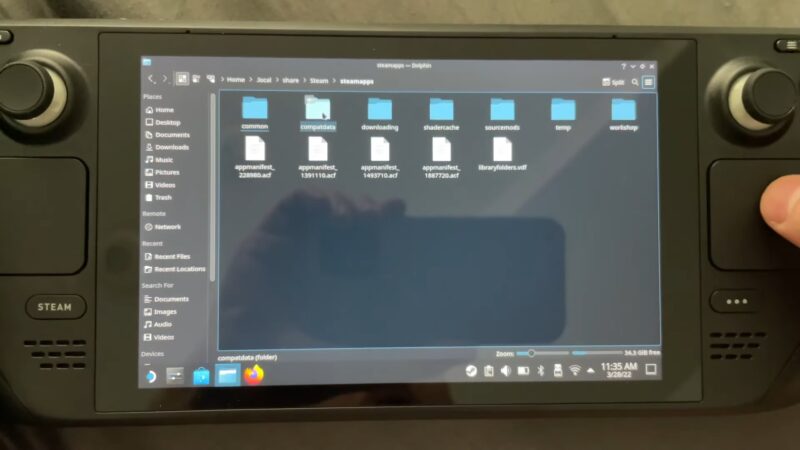
Restoring Your Data
With the new SSD installed and ready, it’s time to restore your data. This can be achieved by restoring your games from the backup files and synchronizing your save files from the Steam Cloud.
- To restore your games, go to Steam > Backup and Restore Games.
- To restore your saved files, ensure Steam Cloud is enabled, and your files will automatically sync.
Testing the New SSD
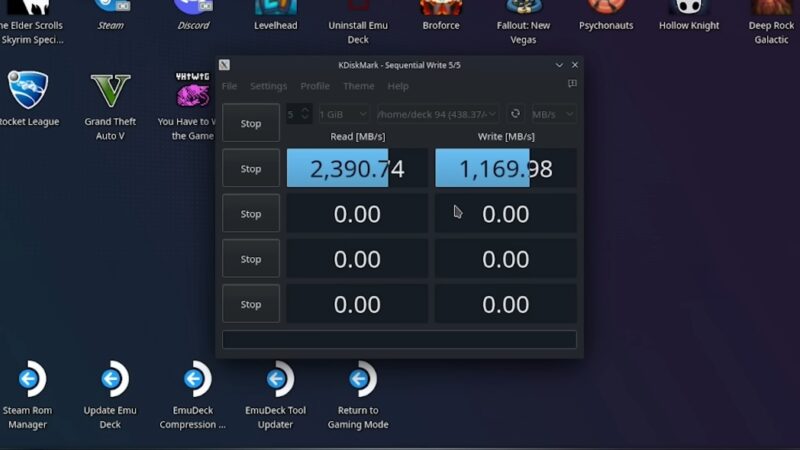
The final step is to test your new SSD. This ensures it’s working properly and gives you the chance to experience any performance improvements.
- Consider testing load times, data transfer speeds, and general system performance.
- Run a variety of games to ensure the Solid State Drive is functioning as expected.
Troubleshooting Common Issues
Despite careful execution, you may encounter some issues. Don’t panic – many of these problems can be resolved with simple solutions.
- If the Solid State Drive isn’t recognized, ensure it’s properly installed and the screw is securely fastened.
- If performance issues persist, consider updating the SSD’s firmware or reinstalling your games.
Maintaining Your SSD
To prolong the life of your new Solid State Drive and keep it running smoothly, regular maintenance is key.
- Keep the SSD firmware up to date.
- Regularly clear unnecessary files to prevent the SSD from becoming too full.
Steam Deck’s Warranty
Before you open up your Steam Deck, it’s crucial to understand the warranty provided by Valve.
- Undertaking an SSD replacement may void your warranty, depending on your region and the specifics of Valve’s warranty policy.
- It’s advised to contact Valve’s customer service if you’re uncertain about the implications of SSD replacement on your warranty.
Dealing with Potential Issues Post-Upgrade
Even with a successful Solid State Drive upgrade, you might face some issues down the line.
- You might encounter game crashes or slow load times, which can be resolved by updating the SSD firmware or reinstalling the games.
- Should the new SSD fail, re-installation of the old SSD can serve as a temporary solution until you replace the faulty one.
Potential Alternatives to SSD Upgrade
If you’re hesitant to open up your Steam Deck or are worried about voiding the warranty, there are alternatives to consider for expanding storage.
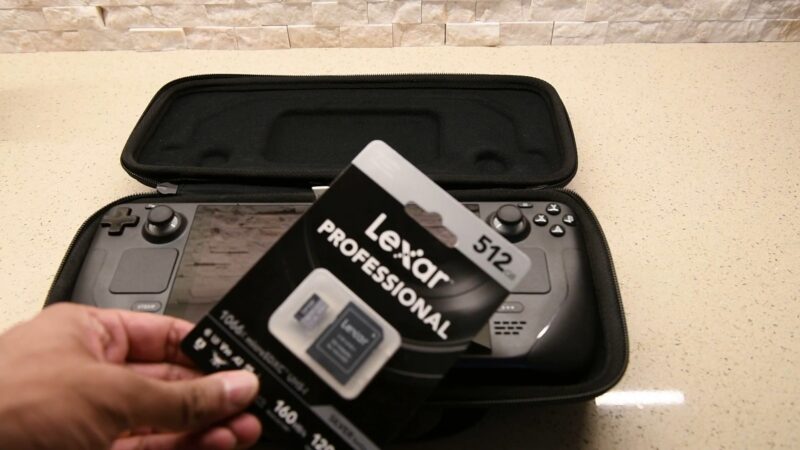
- You can use a microSD card to increase your storage. It’s a much simpler and warranty-friendly solution, though not as fast as an SSD.
- Cloud storage is another option, but it depends on your internet connection and may not be ideal for storing games due to potential latency issues.
Constantly Monitoring Solid State Drive Health
To avoid any unpleasant surprises, it’s good practice to regularly monitor the health of your new SSD.
- Tools like CrystalDiskInfo can provide insight into the SSD’s health and predict potential failures.
- Regular monitoring allows for timely data backups and SSD replacement if necessary.
Final Words
The process of replacing or upgrading your Steam Deck’s SSD may seem challenging, but with this guide and a little patience, you’re well-equipped to do so. Remember, the benefits of a Solid State Drive upgrade can significantly enhance your gaming experience.